First steps
Welcome to the first steps of your journey with Starsky!
Note: This guide assumes that you have already downloaded and installed the Application: How to setup the desktop application using Windows and macOS you can find in the Windows Guide and macOS Guide
If you are looking for the command to reset Gatekeeper: Learn more in the macOS Guide
codesign --force --deep -s - /Applications/Starsky.app && xattr -rd com.apple.quarantine /Applications/Starsky.app
Setting Storage Folder
- Once you have installed Starsky, you can start it by opening the Starsky application.
- Go to Preferences and change the Storage Folder's path to the location where you want to store your pictures.
- Press Command + Shift + K on macOS and Ctrl + Shift + K on Windows to go to Preferences.
- This looks like this:
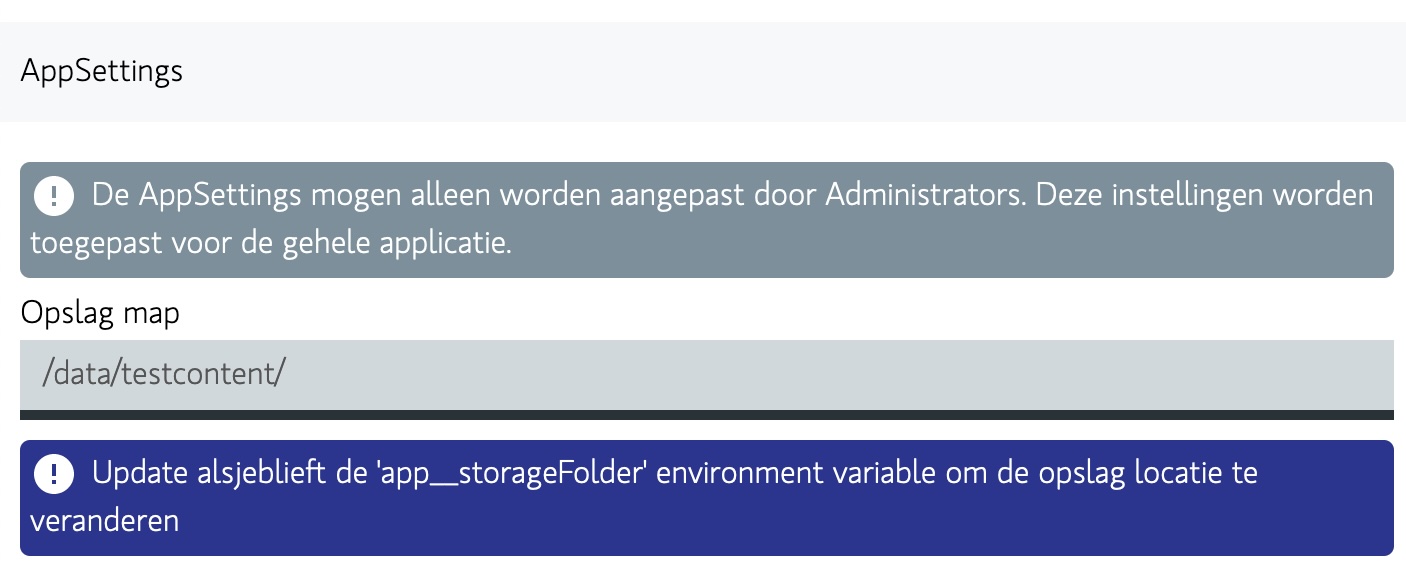
Note: AppSettings can only be edited by Administrators, the first user is by default Administrator
Note: When using an environment variable, the path is not editable in the UI
When using as server mode: see account management for more info
Run re-sync
- After setting the Storage Folder, you can run a re-sync to update the view with the new location.
- Go to the Home screen
- In the menu, click on Refresh on the right top of the screen
- Wait until synchronize job is finished
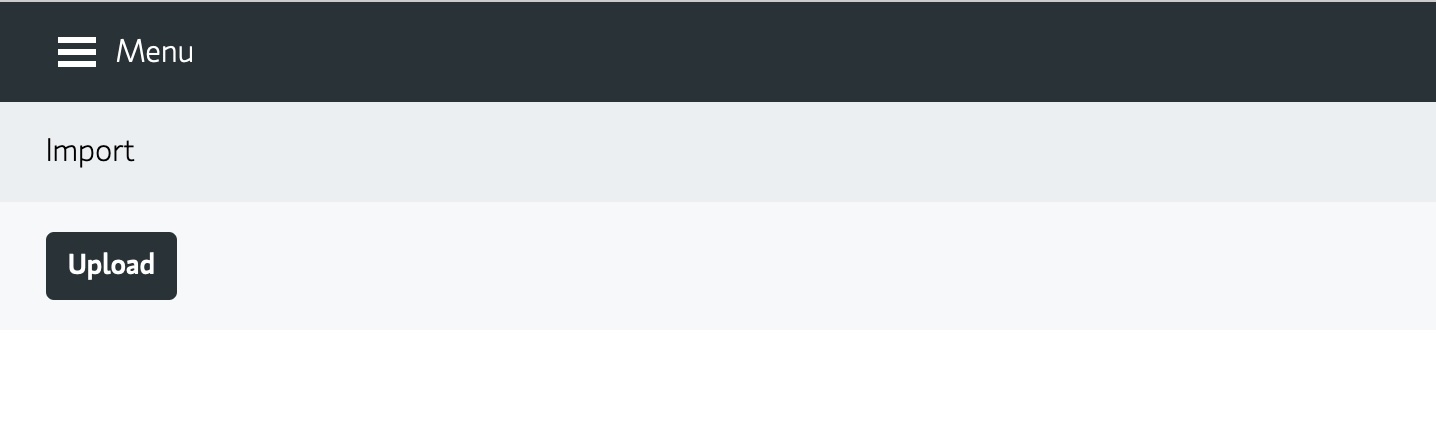
Importing photos
- After the sync is finished, you can start importing photos.
- Go to the Home screen
- In menu click on Import
- This looks like this:
The default structure is /yyyy/MM/yyyy_MM_dd*/yyyyMMdd_HHmmss_{filenamebase}.ext and the photos
are placed in the correct folder.
So a picture that has been taken at Saturday, 3 February 2024 10:10:29 will be placed
in 2024/02/2024_02_03 and will be named: 20240203_101029_DSC07624.jpg the base name of the file
is DSC07624 and the extension is jpg.
Read more about Import here
Search
Learn more about search here